The 101 Mead went into secondary today, about two weeks later than I’d planned. I didn’t want to leave it on the lees longer than 6 weeks, but life interfered. It was closer to 7-8 weeks. Holiday weekends are nuts at work.
The yeast in this batch, EC-1118, is tolerant and doesn’t tend to give off-flavors if you leave your must on the lees for longer than you wanted to. Here’s a great summary from Meadist, and you can read their summary of good mead yeasts here:
“This champagne yeast is a low foaming, vigorous and fast fermenter with a high alcohol and sulfate tolerance. Its a hearty yeast that can ferment in a broad range of temperatures and will inhibit wild yeasts. It’s a neutral yeast having little effect on the honey character. Make sure you give it significant time to age! Alcohol Tolerance: 18% Temperature: 45°-95°F”
On to racking and moving into secondary. This is the start of the fermentation period when oxygen is bad, and you absolutely don’t want to mix the must or leave a lot of headspace in your fermenting vessel. Take extra care while racking to minimize oxidation. I use a stool or any other piece of furniture to raise the carboy high enough that my siphon rests on the bottom of the carboy. That lets the mead flow from one vessel to the other with a minimum of turbulence. Also make sure that everything is sterilized before racking as well.
I get my siphon started, and then carefully move the mead from the plastic bucket into a 1 gallon glass carboy, where it’ll spend most of the next year. You’ll notice the yeast ‘cake’ on the bottom of your primary fermentation container, if you’re using a glass one. I guess at mine, but when I start seeing yeast being funneled into the siphon, I stop.
Then I put a cap and airlock on the secondary vessel. 101’s looks like this:
There’s a bunch of different caps and airlocks you can use. This one has a rubber bung, because the carboy is an old glass one I found at a thrift shop (for 3 bucks, no less!), and my standard screw-on caps didn’t fit. I then put it in my mead closet, which is dark and tends to stay at an even temperature. It sounds fancier than it is, really it’s the closet in the tiny second bedroom at my house. When I lived in Wyoming, the mead fermented on the floor of the pantry. You want a space that’s dark (light is not your mead’s friend, never ferment it in sunlight), and doesn’t yo-yo all over the damn place as far as temperatures go.
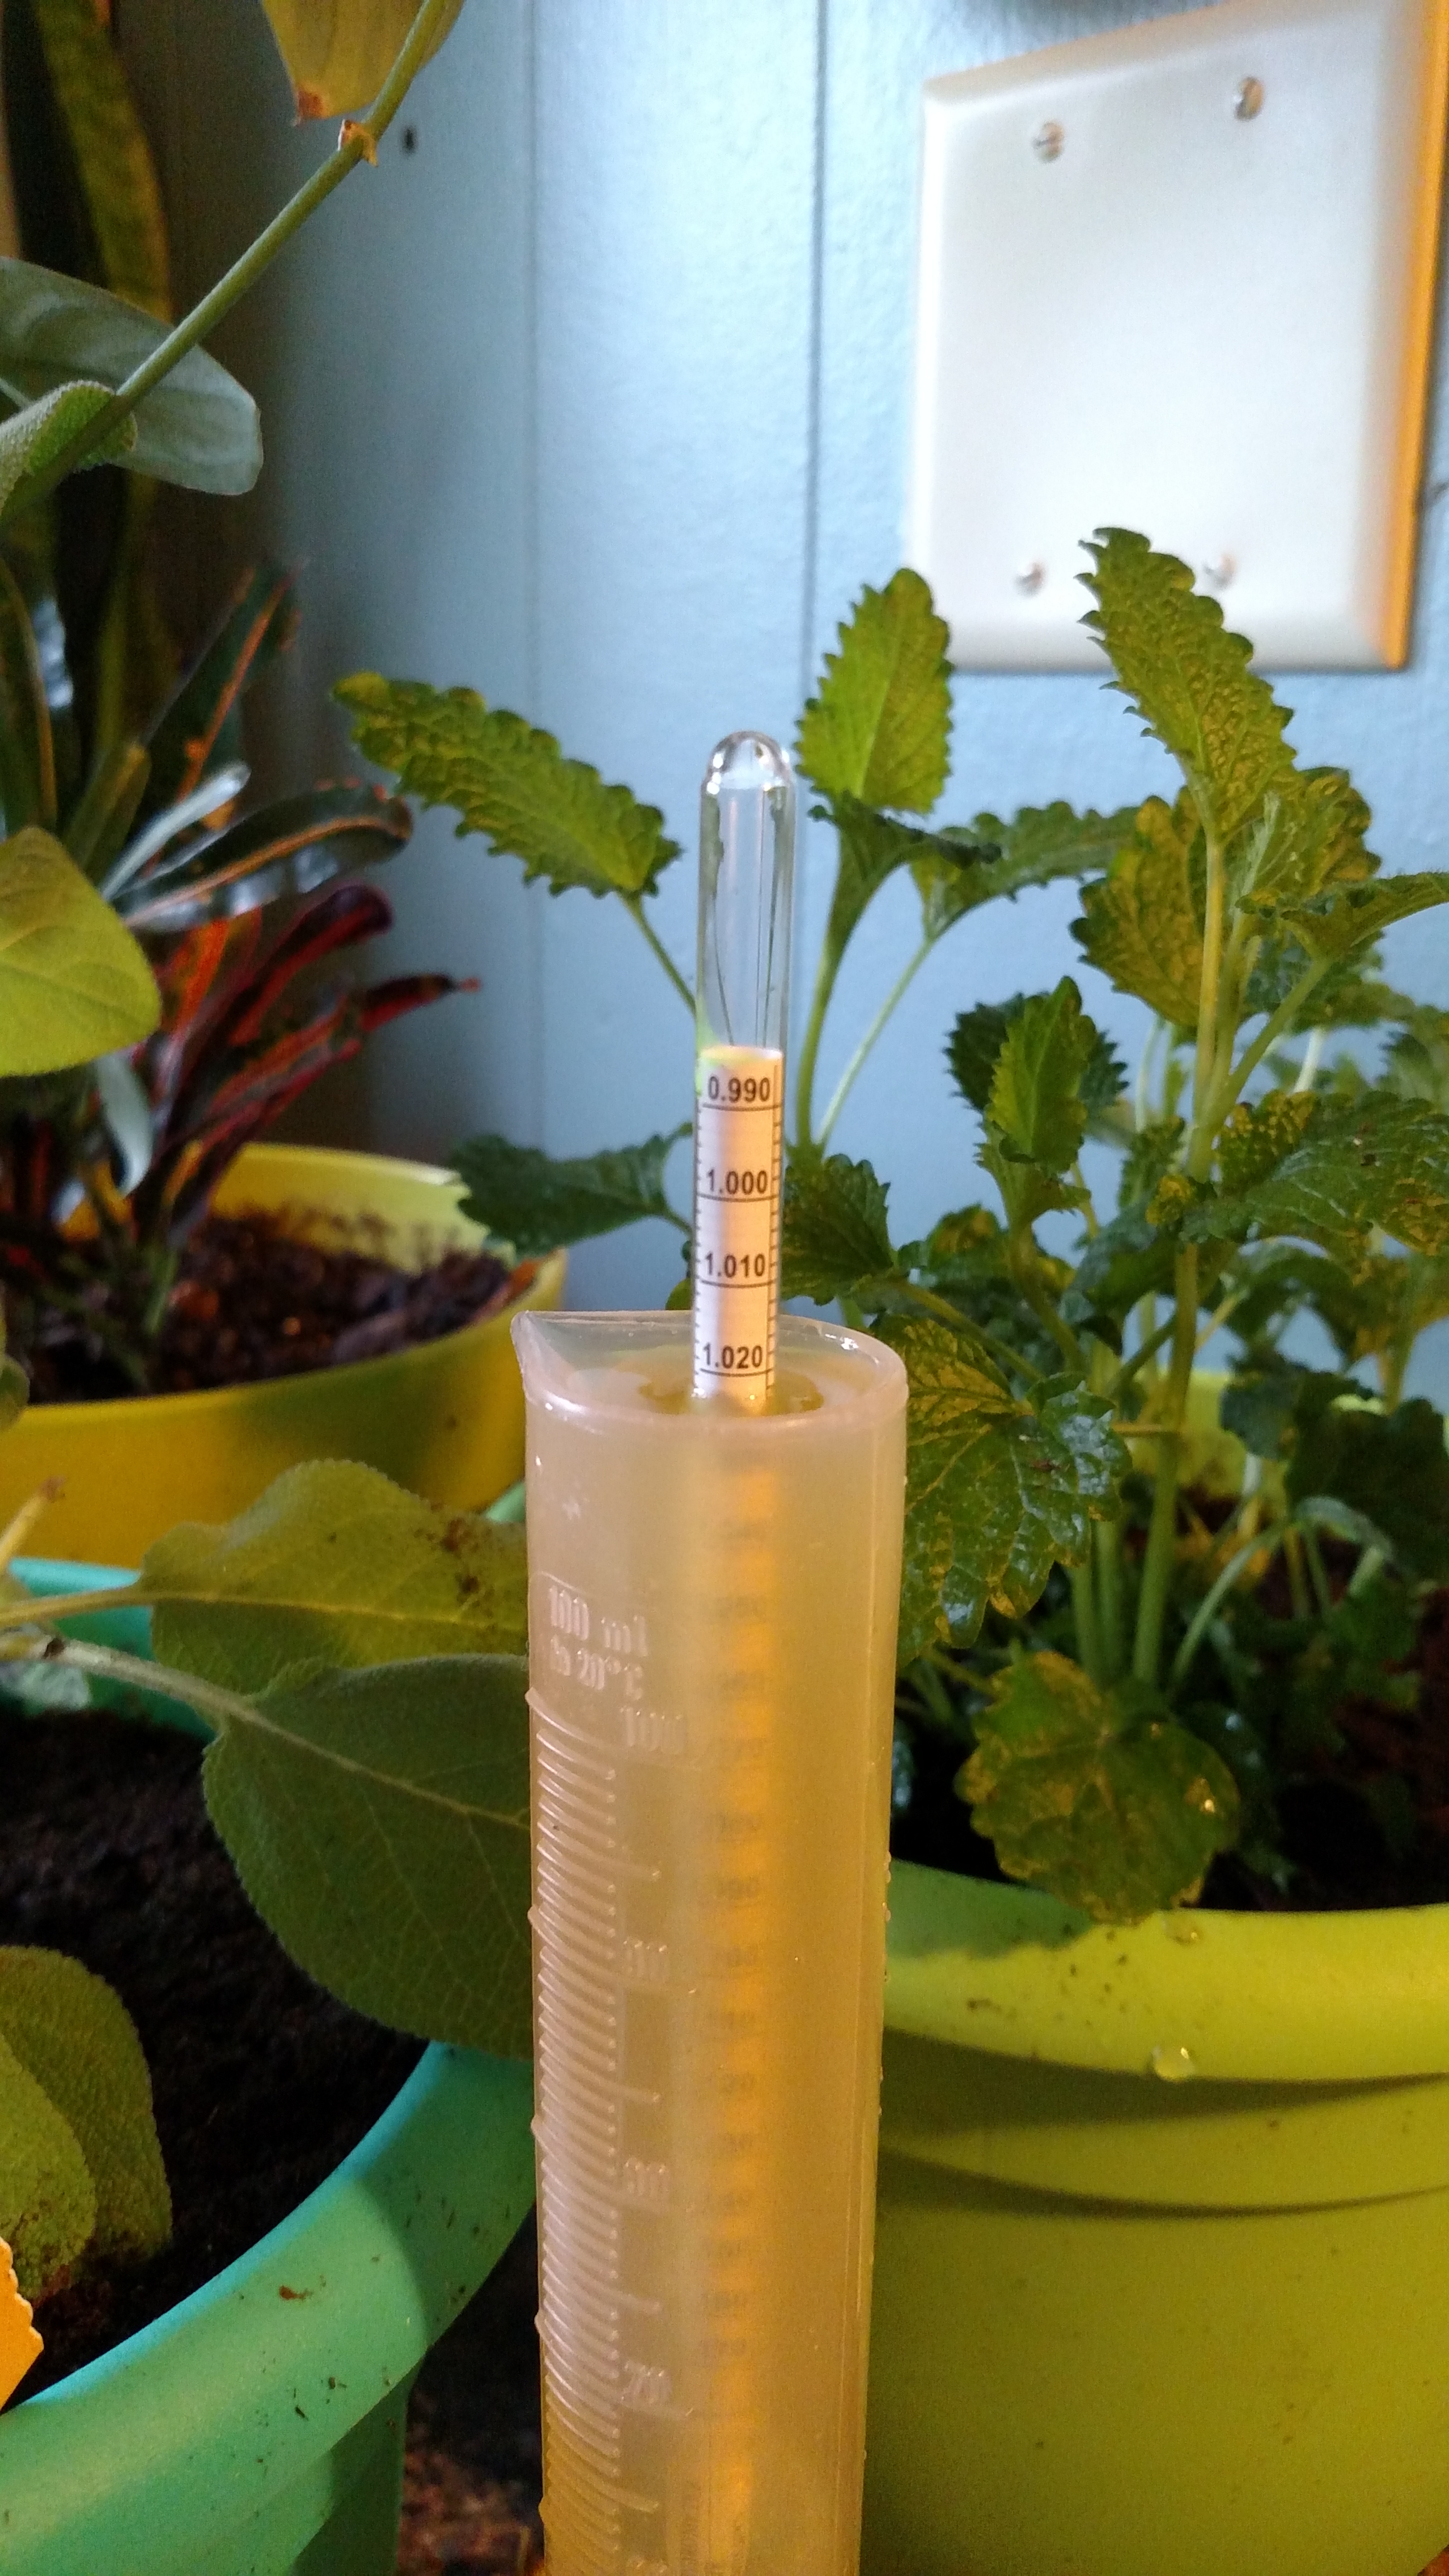
Now it sits. I took the specific gravity (SG) to keep track of it.
It tastes good. Boozy, which I expected with this yeast, but I can still pick up on the honey easily.
A note: I did wind up with extra must, which I didn’t add to the carboy because I wanted to avoid siphoning the yeast cake. The rest of the must went into a pint glass, and then into the fridge. Once it’s crashed and the yeast sinks to the bottom, I’ll add the rest of this to the carboy to bring it as close to the top as I can. I’ll leave 1-2″ for headspace, but really, you want as little space between the must and the airlock as possible at this point. Oxygen exposure in secondary is not good.
Now it’s time to be patient. I’ll rack it again in a few weeks, if I notice a lot of yeast falling out of the must, and take another SG then. But for now, it’ll happily stay in secondary anywhere from 6 months to a year. Next post will be on secondary and aging.
101 Mead Log:
OG (4/6/17): 1.12
EC-1118 yeast
3.5 lbs raspberry co-op honey
Water to 1 gallon
Fed on 4/7/17 (fermaid K)
SG going into secondary (6/1/17): 1.024
This’ll be the first in a series of… well, shit. I actually started this mead on April 6th, but due to getting a garden started and some work shenanigans, I’m just now getting the blog series started.
This mead has 3.5 lbs of raspberry honey and was made with EC-1118 yeast. I used spring water, because my well water is a bit suspect right now. I don’t have to boil it, but I also don’t have much reason to trust it for mead making.
So, first step, get everything together. Now is the time to make sure you have the equipment that you need and to make sure it’s in working order before you start. Nothing says fun like getting everything set and discovering your only airlock has a crack in it the size of the San Andreas.
This is your mise en place (sue me, I’m watching Anthony Bourdain as I write this post). Honey, yeast, primary fermenter (2 gal food grade plastic bucket), sanitizer, hydrometer, thermometer, 1 gallon of spring water, a large pot, a small dish for starting yeast, stirring spoon, airlock, and the test tube for testing OG. Don’t forget whatever you’re drinking while you’re starting your batch of mead. Also, paper towels or dish towels for the inevitable spills.
101 Honey and Yeast
The honey had started to crystallize, which is normal. I made it a hot water bath and let it start to de-crystallize again. While it was in the hot water bath, I sanitized my equipment and cleaned the kitchen. I do have two dogs, and the last thing I want is a stray dog hair in the mead. My go-to is Star-San. Most local brew shops carry it, and if they don’t, Amazon does.
After the honey was liquidized, I added it to 1/2 gallon of water, heated to 105 deg, but not boiling. I don’t follow the philosophy of boiling the must (honey+water mixture), because boiling can affect the honey’s flavor. Honey itself is not prone to infection, so as long as you sanitize your equipment, use an airlock, and keep everything clean while brewing, you’re good. You’d pretty much have to let your dog drink out of the must to introduce bacteria for an infection, and I kept my two out in the yard during brewing.
Wash your hands. Sanitize your gear. And don’t sweat it too much.
Then I aerated it while this was going on:
Activating Yeast
I do make sure I match temperatures as closely as possible with the yeast and the must. Follow the instructions on the back of your yeast packet for temperature and how long to let it activate before tossing it into your must.
Full disclosure: I did have one batch that I started, and right before I was ready to start dealing with the yeast, work pinged. So I tossed the yeast into the must on the off chance that it would work without being activated first, ran out the door, and 24 hours later it was merrily fermenting away. Thank you Lalvin, that batch turned out nicely.
But for this batch, I followed the instructions. Then I tossed the activated yeast into the must and aerated again after adding more spring water to bring the total volume up to a starting gravity of 1.12. You won’t use the entire gallon of water for a 1 gallon batch. Also, don’t worry if your mead is a bit over one gallon, you’ll lose some volume during racking. And tasting as the batch moves along.
If you start at just over a gallon, you have a better chance of ending primary fermentation at one gallon due to the volume loss from racking. You want to minimize headspace (the open air at the top of your carboy) during secondary fermentation. Air is Kryptonite for meads once they’re done primary, so do whatever you can to minimize it. The less headspace the better.
Future Mead
You need to get your OG (original gravity). Your OG will be the baseline for the 1/3 sugar break and also for calculating the ABV of your finished mead. This mead started at 1.12, which will yield a very sweet mead. The yeast for this batch has an alcohol tolerance of up to 18%. That’s one reason why I’m planning on a minimum of a year for this batch. 4-6 weeks in primary, followed by months in secondary.
As far as feeding this batch went, I used Fermaid K on the second day of fermentation, because of the high original gravity and the likelihood that the yeast would need a kick in the ass to keep fermenting. I don’t always feed my brews if I’m going for a lighter, less sweet, less alcoholic mead. I also don’t feed my brews if I’m throwing something into primary before going out of town for a week. Or if I’m feeling lazy.
The Tonsa method is what I do use when I feed meads. It really is a good method. Here’s the link.
While the 101 batch is fermenting, I’ll be starting a couple of other batches, so that I have something to drink while this one is brewing. Stay tuned for updates when this batch goes into secondary, tasting notes throughout brewing, and bottling over the next year.
Some random tips:
If you live in a hot area, you can leave the honey in a hot car for a while instead of messing around with a water bath.
Fuck raisins. Seriously. If you’re going to feed your mead, pick a yeast food that won’t affect the final flavor. Yes, a lot of recipes call for them, but I’m an opinionated asshole about raisins and about the fact that boiling your honey/water mixture is a bad idea. Also, if you’re starting at a higher OG and going for a sweet mead, you should feed your yeast to keep them happy. Stuck fermentations do happen and honey itself doesn’t have enough nutrients to keep yeasts happy all of the time.
If you do go with a specialized honey, like some random awesome shit that came from a roadside stand or your neighbor gave you, keep some in reserve for backsweetening if you have to later on.
Don’t stress too much. As long as you keep an airlock on, keep your work space clean, and keep your gear sanitized, it’s fairly difficult to get an infection started in a batch, or introduce wild yeasts or bacteria to your must while you’re starting a batch.
Aeration is not evil in the first part of primary, but it’s absolutely something you don’t want in secondary or when you bottle. Make sure you sanitize whatever is going into your must, every time. Secondary is the stage where you need to be careful about not aerating your must and making sure you don’t introduce anything weird into your mead.
If you have too much headspace in your carboy for secondary, sanitize a bunch of marbles and drop them in to bring your mead up close to the top of the carboy. They won’t affect the flavor, but they will help protect your mead.
Got Mead has a calculator that comes in handy. Use this for all of your calculations, it takes out a good bit of the guesswork.
Google search different methods of making mead. There’s a literal ton of them, and if my methods make you cringe because there’s a good bit of winging it, there will be something more precise out there that you can use.
You can pick up a wine making kit that has pretty much everything you need. Get a hydrometer (for measuring OG and SG) if the kit doesn’t have it. Always, always buy extra airlocks, even if you don’t live 2 hours away from your closest brew shop like I do.
It’s entirely possible to make a 1 gallon batch by taking 3 lbs of honey, and tossing it into a sanitized bucket with yeast and water, shaking it, and leaving it in a room to cook for a while. I’m sure there’s some purists that will happily try to kick my ass for saying that, but mead isn’t rocket science, especially if you’re just making something fun to drink and not going for a competition mead. You can get as technical as you want, and you’ll likely get more technical as time goes on and you try to fine tune your meads, but to start with? Go ahead and get the last packet of yeast on the shelf, a few pounds of honey from Costco, and a food grade bucket. Go to town. Make some booze.
Finally, I want to throw up a recommendation for the folks at UBrew/ Planet Natural in Bozeman, Montana. Go check them out. They have a great selection and great customer service too. They do online orders if you’re not local.
I’m unreasonably happy about the peach mead. It’s very light, tastes and smells like the fantastic peaches my friend contributed. Most of the honey is gone, though, so that leaves me with the decision of whether or not to backsweeten. I’ll let it go another 1-2 months to see what happens.
9/5: Racked, and put into secondary. 1 gallon went into plain honey, and the other five gallons? A friend of mine from work scored some absolutely sick peaches. We’re talking fresh, ripe, you want to eat until you almost fucking puke peaches. So we de-pitted them, split them up, and put about 15lbs into the mead. At least I think it was 15 lbs. I didn’t have a kitchen scale, but it was around 2 plastic grocery bags if I remember right. Minus the ones I ate because, well, peaches.
9/30: Racked again, taking it off the peaches. Made peaches into a cobbler for a bonfire.
Halloween: Threw myself, the mead, and my dogs into a U-haul and moved to Washington. It turns out Wyoming to Washington in a Uhaul doesn’t bother mead if you wrap them in a dozen U-haul blankets and make sure the headspace is minimal (good idea regardless).
4/23, today: racked again after neglecting it for a bit. It’s not a bad thing to leave mead aging out in carboys, so flat out ignoring it for 5 months was perfectly fine.
A few notes on this mead. As it turns out, you can put your fermented peaches when you take them out of the mead, into a cobbler, and eat it. And the yeast, 71B, is excellent with fruit. The initial opinions I read about it said never let it sit on a yeast cake (lees), because that can impart flavors. That wasn’t my experience with it, but to be safe, especially if I’m using it for a plain honey mead, I’ll rack it more often. The peach mead did sit on some lees, and I have zero off flavors from it. Other reports I’ve read say it’s very tolerant and user-friendly, and sitting on lees won’t hurt your brew. I’m putting this down to your mileage may vary, and will say that this is rapidly becoming my go-to yeast.
I like low maintenance, what can I say?
As for the 101 mead, it’s happily fermenting away in primary. I fed it on day 2 and the yeast are still working away. It smells great, and is clean.
Now to enjoy some Ethiopian mead I picked up at the farmer’s market.
I was all set to start the 101 batch tonight. Assembled all the ingredients, put the plastic bucket in to sanitize, had the honey ready to go… and I discovered that my hydrometer broke during the move, and I now need to wait for Amazon to mail me a new one.
April Fool’s to me!
Since it’s Saturday, and delivery won’t be until Tuesday, no mead is happening tonight. Let’s talk honey instead, because honey is the backbone of a mead. If you’re making a traditional mead (honey, yeast, water), then it’s the main ingredient. You don’t want to short change yourself when it comes to picking a decent honey for mead.
If you’ve been following honey news, you’re probably aware of the stories about weird chemicals and Chinese imported honey, corn syrup and fake honey, and filtration. I’ll leave it at that. I’m not a nutritionist and I’m certainly not an expert on honey production. Here’s what the National Honey Board has to say for a good starting point in researching honey.
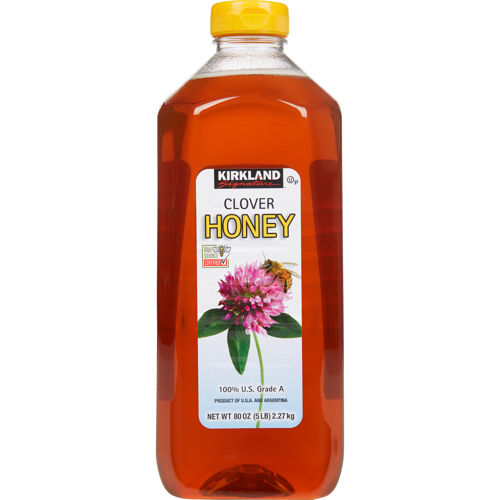
Can you use a cheaper honey? Sure. I’ve done it. If I’m making a fruit mead, I’ve used Costco honey, which is the Kirkland brand. They list the sources for it, it’s economical, and since the fruit or spice will be present, the honey won’t be as noticeable. Also, this is good for making mead on a budget.
Costco FTW
For my plain meads, I am far more choosy. I like taking honey from different places and seeing what I get. I’ve found honey on roadside stands, from friends who know beekeepers, farmer’s markets, on road trips, and from local stores. The honey for the 101 batch came from a co-op and is raspberry honey. Not raspberry flavored honey- there’s a distinction here, and I don’t use flavored honeys. This honey came from bees who were chowing down on raspberry pollen. You can find clover honey, buckwheat honey, berries, sage, orange blossom, etc. What the bees eat affects how the honey tastes.
My current source is our local co-op ish sort of market. They have a rotating selection of honeys. They’re sold in bulk, which gives me the advantage of being able to try it before I buy it.
My advice on honey is this: If it’s your first mead, get a decent honey and have at it. Don’t worry if all you can get is Kirkland. It’s not the worst honey out there by far, and your mead isn’t going to be awful. I’d recommend spending the few extra bucks to get a better quality honey, if you’re making a plain mead, though.
As for how much to buy, you’ll want to use 3 lbs of honey per gallon. You increase the amount of honey for a sweeter mead, and decrease it for a dryer mead. I always buy a little extra, especially if I’ve found some random honey on a road trip, because if you do need to backsweeten, you’ll want a reserve on hand.
One final note. To boil or not to boil? My answer is no, just like I don’t use raisins as a food source for yeast. Boiling your honey will remove the subtle flavors and change the taste of it, which is not what I want out of my mead.
And if you have friends, bribe- I mean ask- them to keep an eye out during their travels for some honey. Then experiment! You’ll screw up batches and have some that are amazing. I still have my shitty buckwheat batch that’s been sitting in bottles for close to 3 years now in the hopes that it’ll age out into something drinkable. Just remember to write down which honey you used for which batch, and where you bought it from, in case the finished mead turns out completely fucking amazing and you want to do a repeat brew.
Mead! I don’t have anything in primary right now, and I need to fix that. The plan is to blog about this batch from start to finish. I’ll get the recipe and photos of this batch posted tomorrow, since it’s almost midnight and I’m not starting anything today.
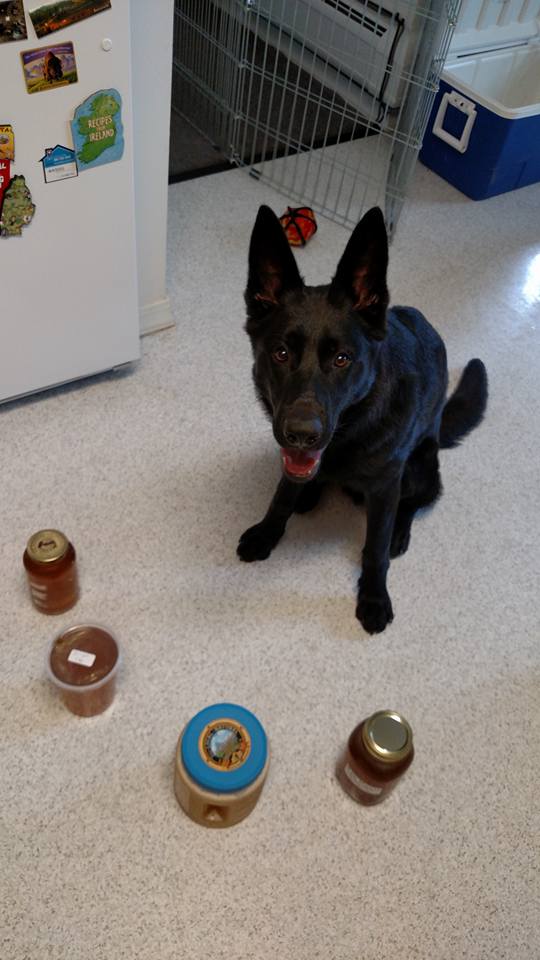
There’s a few things I do for every batch now. I keep logs, I name batches, and I identify carboys so my forgetful self doesn’t lose track of which mead went where. Anywhere from 5-10 batches in various stages is normal around here.
About three years ago, I mixed up mead batches after I forgot which mead I had in which carboy. After that, I started doing this:
Honey, blueberry, spiced meads.
And recording notes in 3 ring binder, with the date, ingredients, and specific carboy each batch is fermenting in. I suggest writing down everything that seems even remotely useful. I like keeping notes on types of honey, yeast, fruit/spices/etc, yeast food, OG and SG, racking, what it tastes like during different stages… everything, really. It lets me keep track of what worked and what didn’t.
The batch for this blog series is 101 Mead. I’m very original, the honey I’ll be using came from a farmer’s market off Route 101 in Washington.
I’m sure I could claim to be very clever about naming things, but the truth is that most of my meads wind up with names like July raspberry, Wasatch honey mead, Solstice killer bee honey (and I can’t wait to get that one in bottles, killer bee honey is amazing).
The honey for this batch is a blackberry honey, meaning the bees fed on blackberry nectar. Honey is very important, especially if you’re making a traditional mead with no fruit or spices. Honey runs the show in a traditional mead.
I got lucky and found blackberry honey in bulk, for 5 bucks a pound, at the farmer’s market. The 101 batch will be 3 pounds of honey, one gallon of water, and Lalvin EC-1118 yeast. Fair warning, because that yeast needs a lot of time to age out, actually drinking this batch is at least a year away. That’s a year’s worth of blog posts though, so bonus!
I do want to experiment with a fast fermenting, short aging mead. I’ll swing by Costco and the farmer’s market and see what they have for honey. Until tomorrow!